FMP-10

For my packaging I had to somehow make lids. With my friend bernardo, which is studying 3D design I found a way to make it. That is using 3D print.

So we started  by taking measurements  Of the package and with the tinker cad we made a first draft.

That lid didn’t came out so well and it took quiet a while to print.

So by taking the extra we actual ended up making a much more user friendly piece and also without using so much material.

These are the final pieces

FMP-11

I keep going, to add to the packaging I wanted to create badges. To make them I made and printed a  template for the badges. First trial wasn’t brilliant because the outline of the temple were going to be seen on the edge of the badge. So I made another one with the outline bigger, and so I started…  I risoprinted them and with the badge machine I made the actual badge.

The sit nicely and they are now ready to pack.

FMP-12

And somehow I Manage to make it together. 

For the end in my project will be a packaging containing badges risoprinted in a singular layer.Then I have risoprinted posters flags the cover of the packaging.

And in brittania I printed stickers 

For the end I also have silkscreen shirts


FMP-9

I finally started printing my shirts.
As always the process involves preparations but I am getting there.
First step was to take the elements needed from the original illustration and the replace them to fit into the shirts proportions.
Once done I verified that I was actually putting myself through more work so I ended up cutting the prints to then expose on my screens.

So the process of printing is actually the hard work. I started to clean of two screens so that I could make one for the back of the shirts and one for the front.

After all the preparation of getting the moltion, letting drying  several times and exposing the image I start printing the front of the shirts.

The progress is down below.

Shirts_template (dragged)18554417_1435722766484201_1243643535_n.jpg18554378_1435722713150873_2056914318_n.jpg

18554461_1435722786484199_22187639_n.jpg

FMP-8

After cutting the tubes for my packaging I went to print off the cover for it.
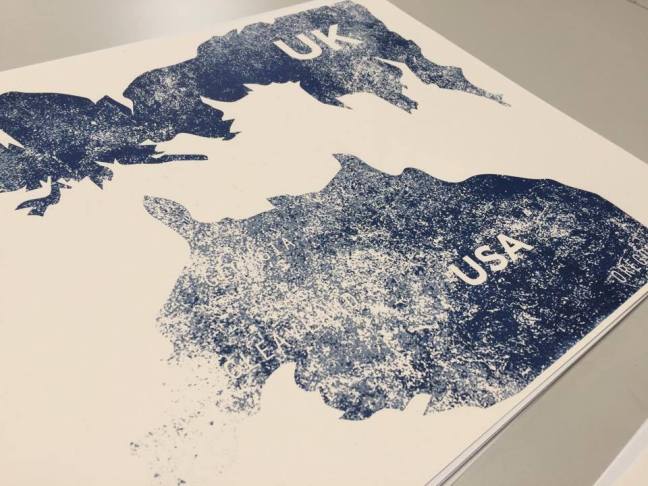
My cover as been printed in riso print with the colours that are associated to the respecting athlete.
To make it I have created a two layer print so that I could have to colours per cover.
For the cover I have chosen to arrange the maps associated with the athlete and have its name.
This way the product is kept unowned which perhaps increases the will for people to open and look at it.
This are some of the prints.

18555267_1435722476484230_387665404_n.jpg18555107_1435722499817561_1107328047_n.jpg18518701_1435722556484222_4044955_n.jpg18554913_1435722449817566_82491920_n.jpg

The next stage was to wrap the around the tube to finish of the packaging. the leeds will be explained later.
With PVA glue I manage to wrap all of them.
I am pretty happy as the packaging looks sharp and clean

18555224_1435722699817541_89215169_n.jpg18554588_1435722659817545_1985146860_n.jpg

FMP-7

For the flags I got a big piece of white cotton textile.
Because I don’t know much about it I probably choose quiet a very light one and it looked fragile.
However I had to pull this out so carefully I cropped the pieces I needed to crop.It went very well although there was some thread lost on the edges.
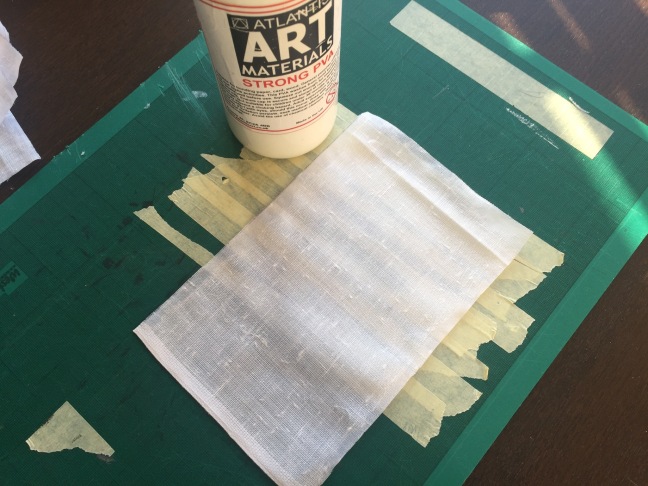
To make work I spread a bit of PVA glue around the edges and let it dry.
Once was dry I was able to cut those little excesses.
IMG_0017IMG_0016IMG_0015IMG_0014

FMP-6

The packaging is going to be a cylinder with two 3D printed lids made out of cardboard. I started by taking measurements  on the cylinder so that later I can add my design.The cut was pretty sharp but some of the excess was then taken with sand paper to make it better.

They are all ready to get their designs.

IMG_0010IMG_0011IMG_0012IMG_0013

FMP-5

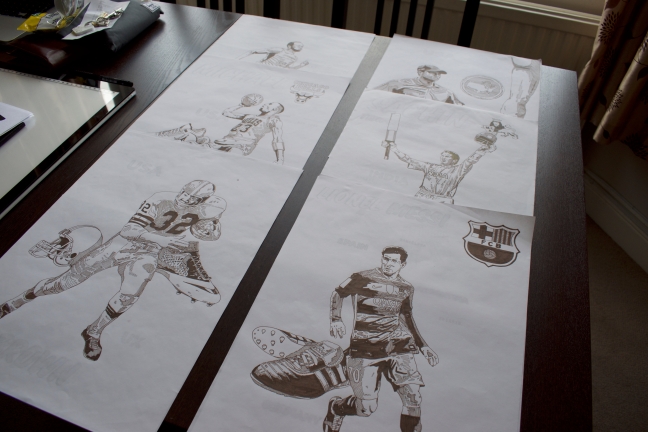
The Illustrations took a while to do.
My intentions were to create a very detailed illustrations and with a sort of texture that could bring extra value to when they are being printed.
They are very similar to each other and consistent and each one is based on three layers. The boy and the shoes, one text based and another with the countries.

DSC_0256.jpg


FMP-4

First stage of the actual making of things was creating the imagery I wanted to use so that I can illustrate on top of that and use it as the primary material to print.
those are very basic since I was going to Illustrate on top.
My intention is to merge the elements in the same image.


FMP-3

Research.

What have I looked hat to inspire my project,

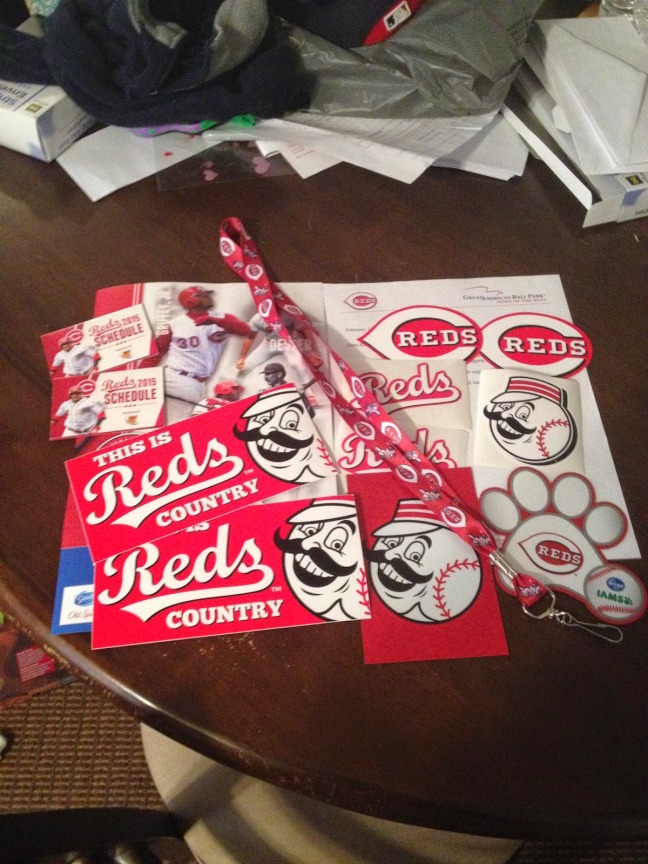
-existing fan packs, types of packaging, materials and

-the elements that are contain in it like, glasses, shirts flags, badges stickers, hats…

– Maps,Textures, materials, representation of the map

-Athletes, from which sports, influence of each one and teams, shoes that they were playing and sponsored by.

and of course, shoes, which are the most iconic shoes in sports.Nevada_grande.jpgReds-fan-pack.jpg3-shoes-f1b7988a.jpgair-jordan-11-tinker-hatfield-sketches-2.jpgmj-1.jpeg142322203.png88543.jpg